Vertical format
Tick "Use vertical resolution". Prefer 4K instead of 1080p.
Color management
Based on your source material but also the destination platform (Youtube, Instagram), you may want to export in SDR (Rec.709), as HDR is not always supported.
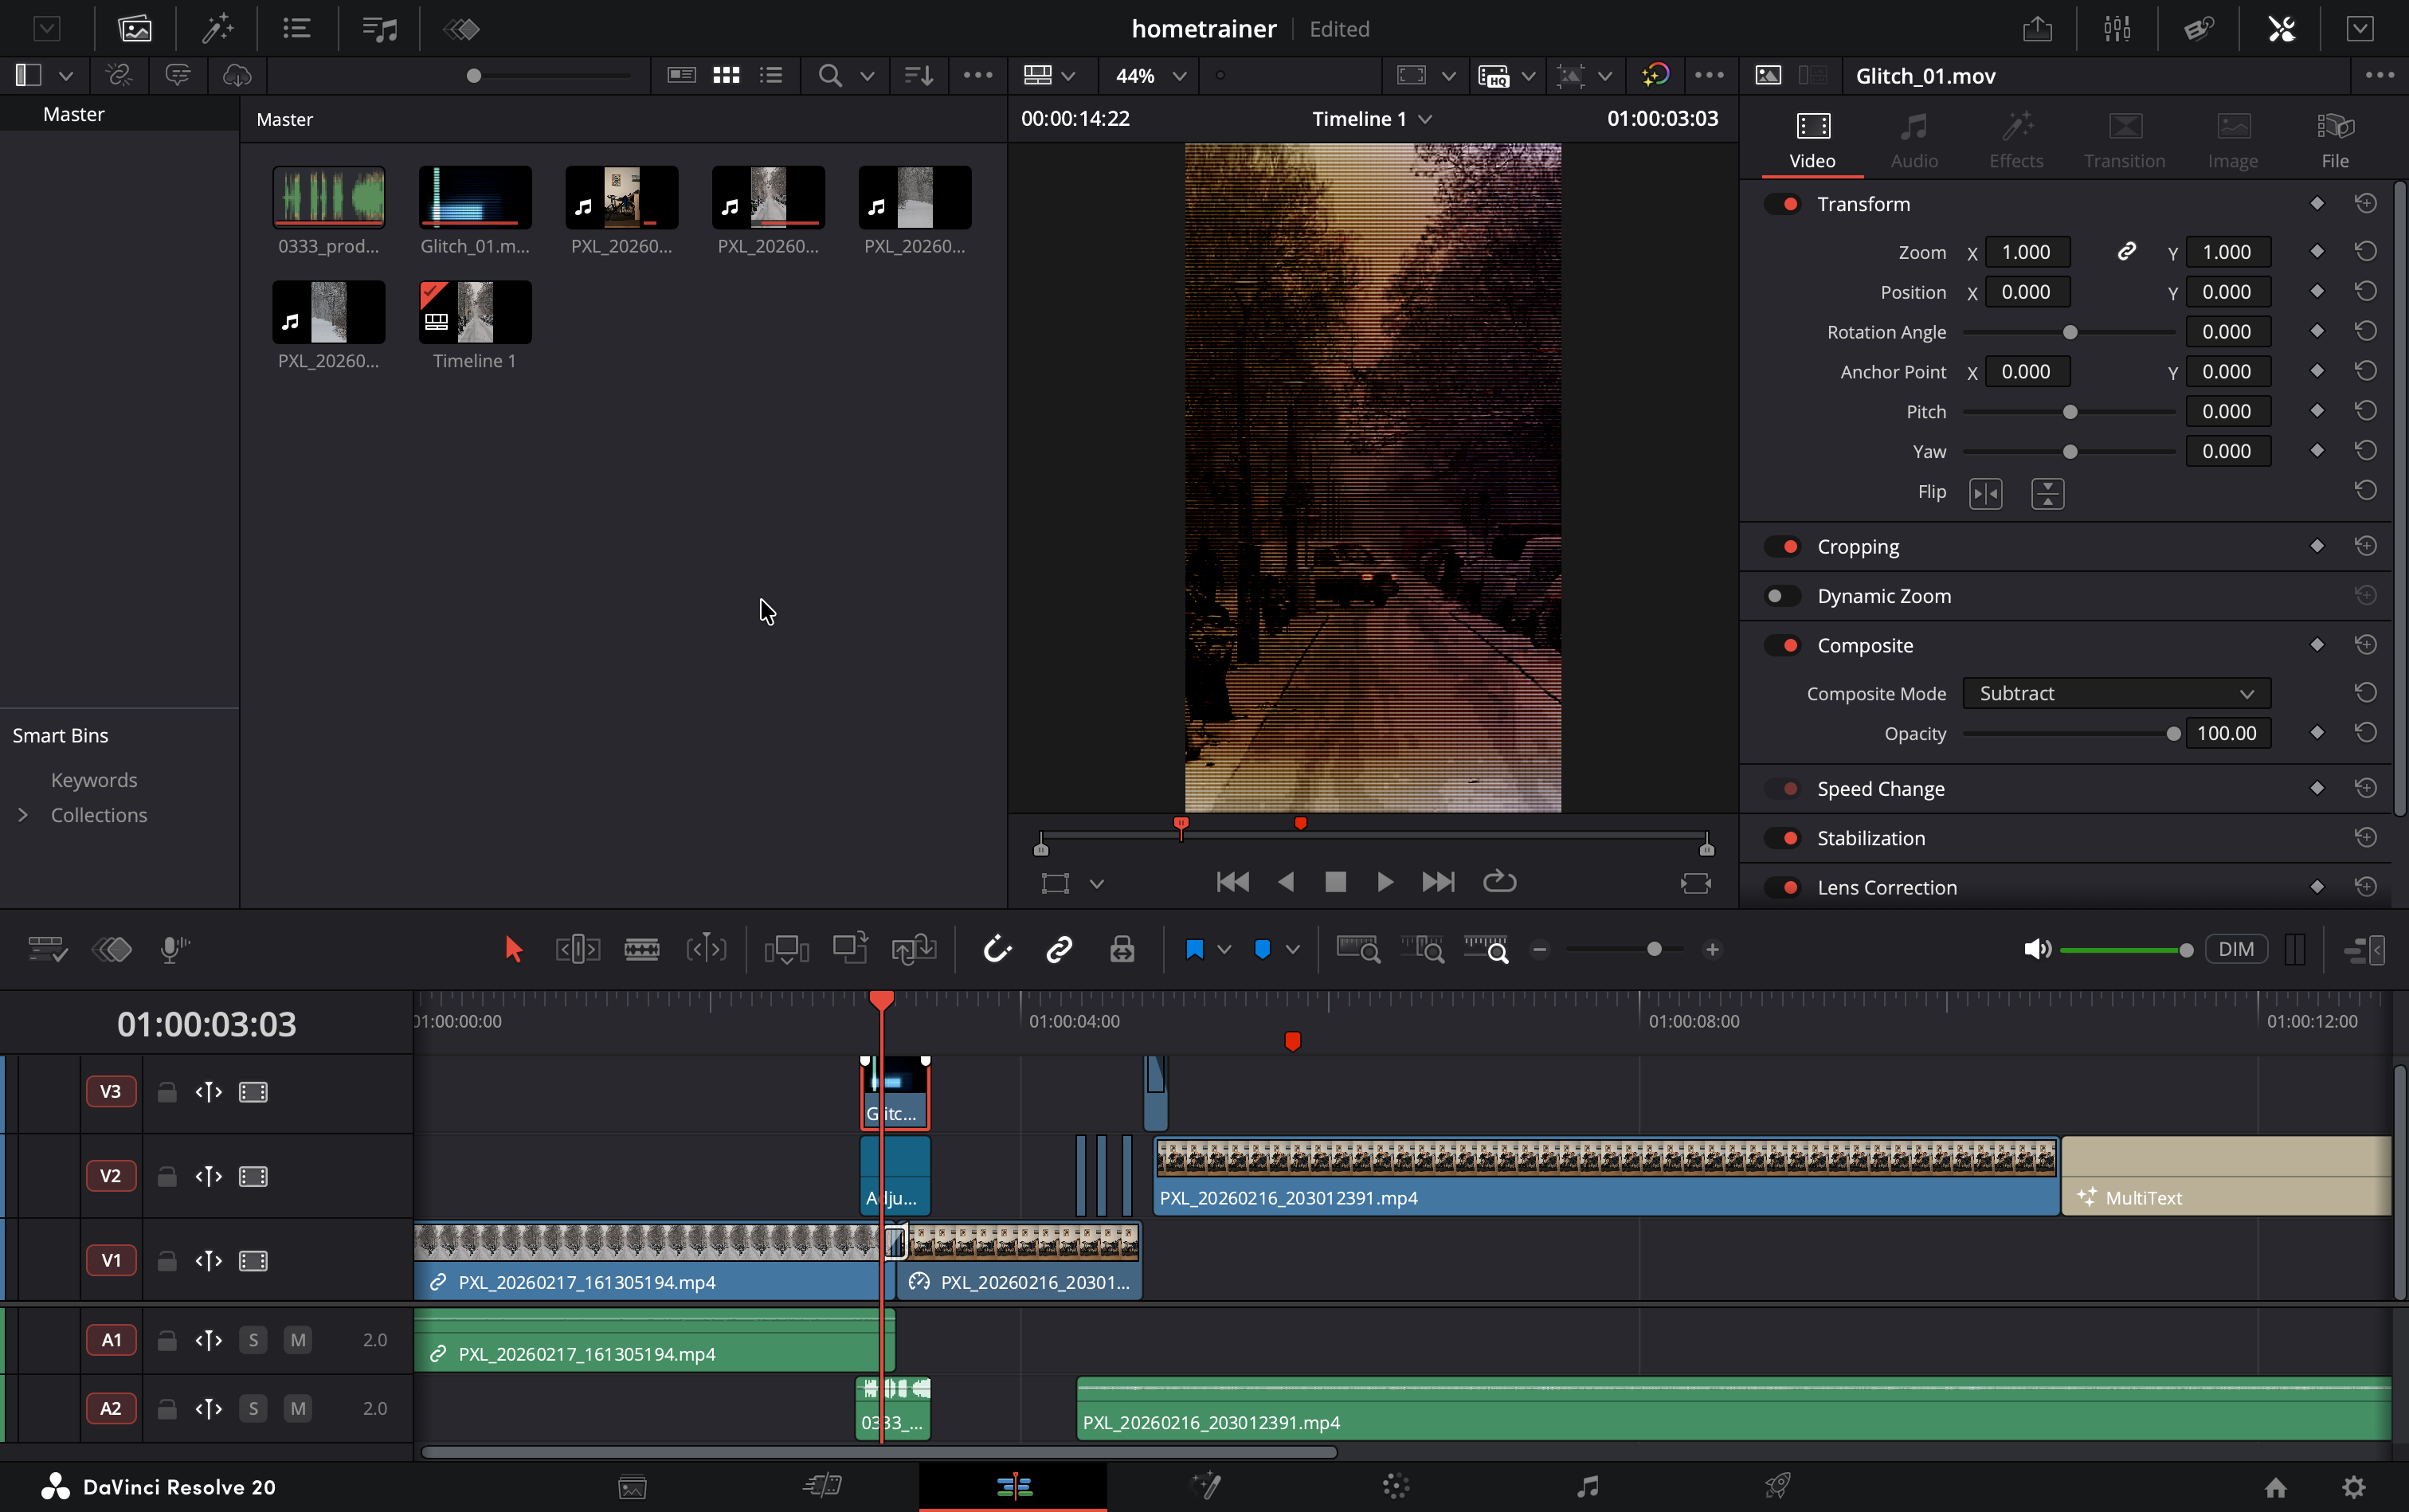
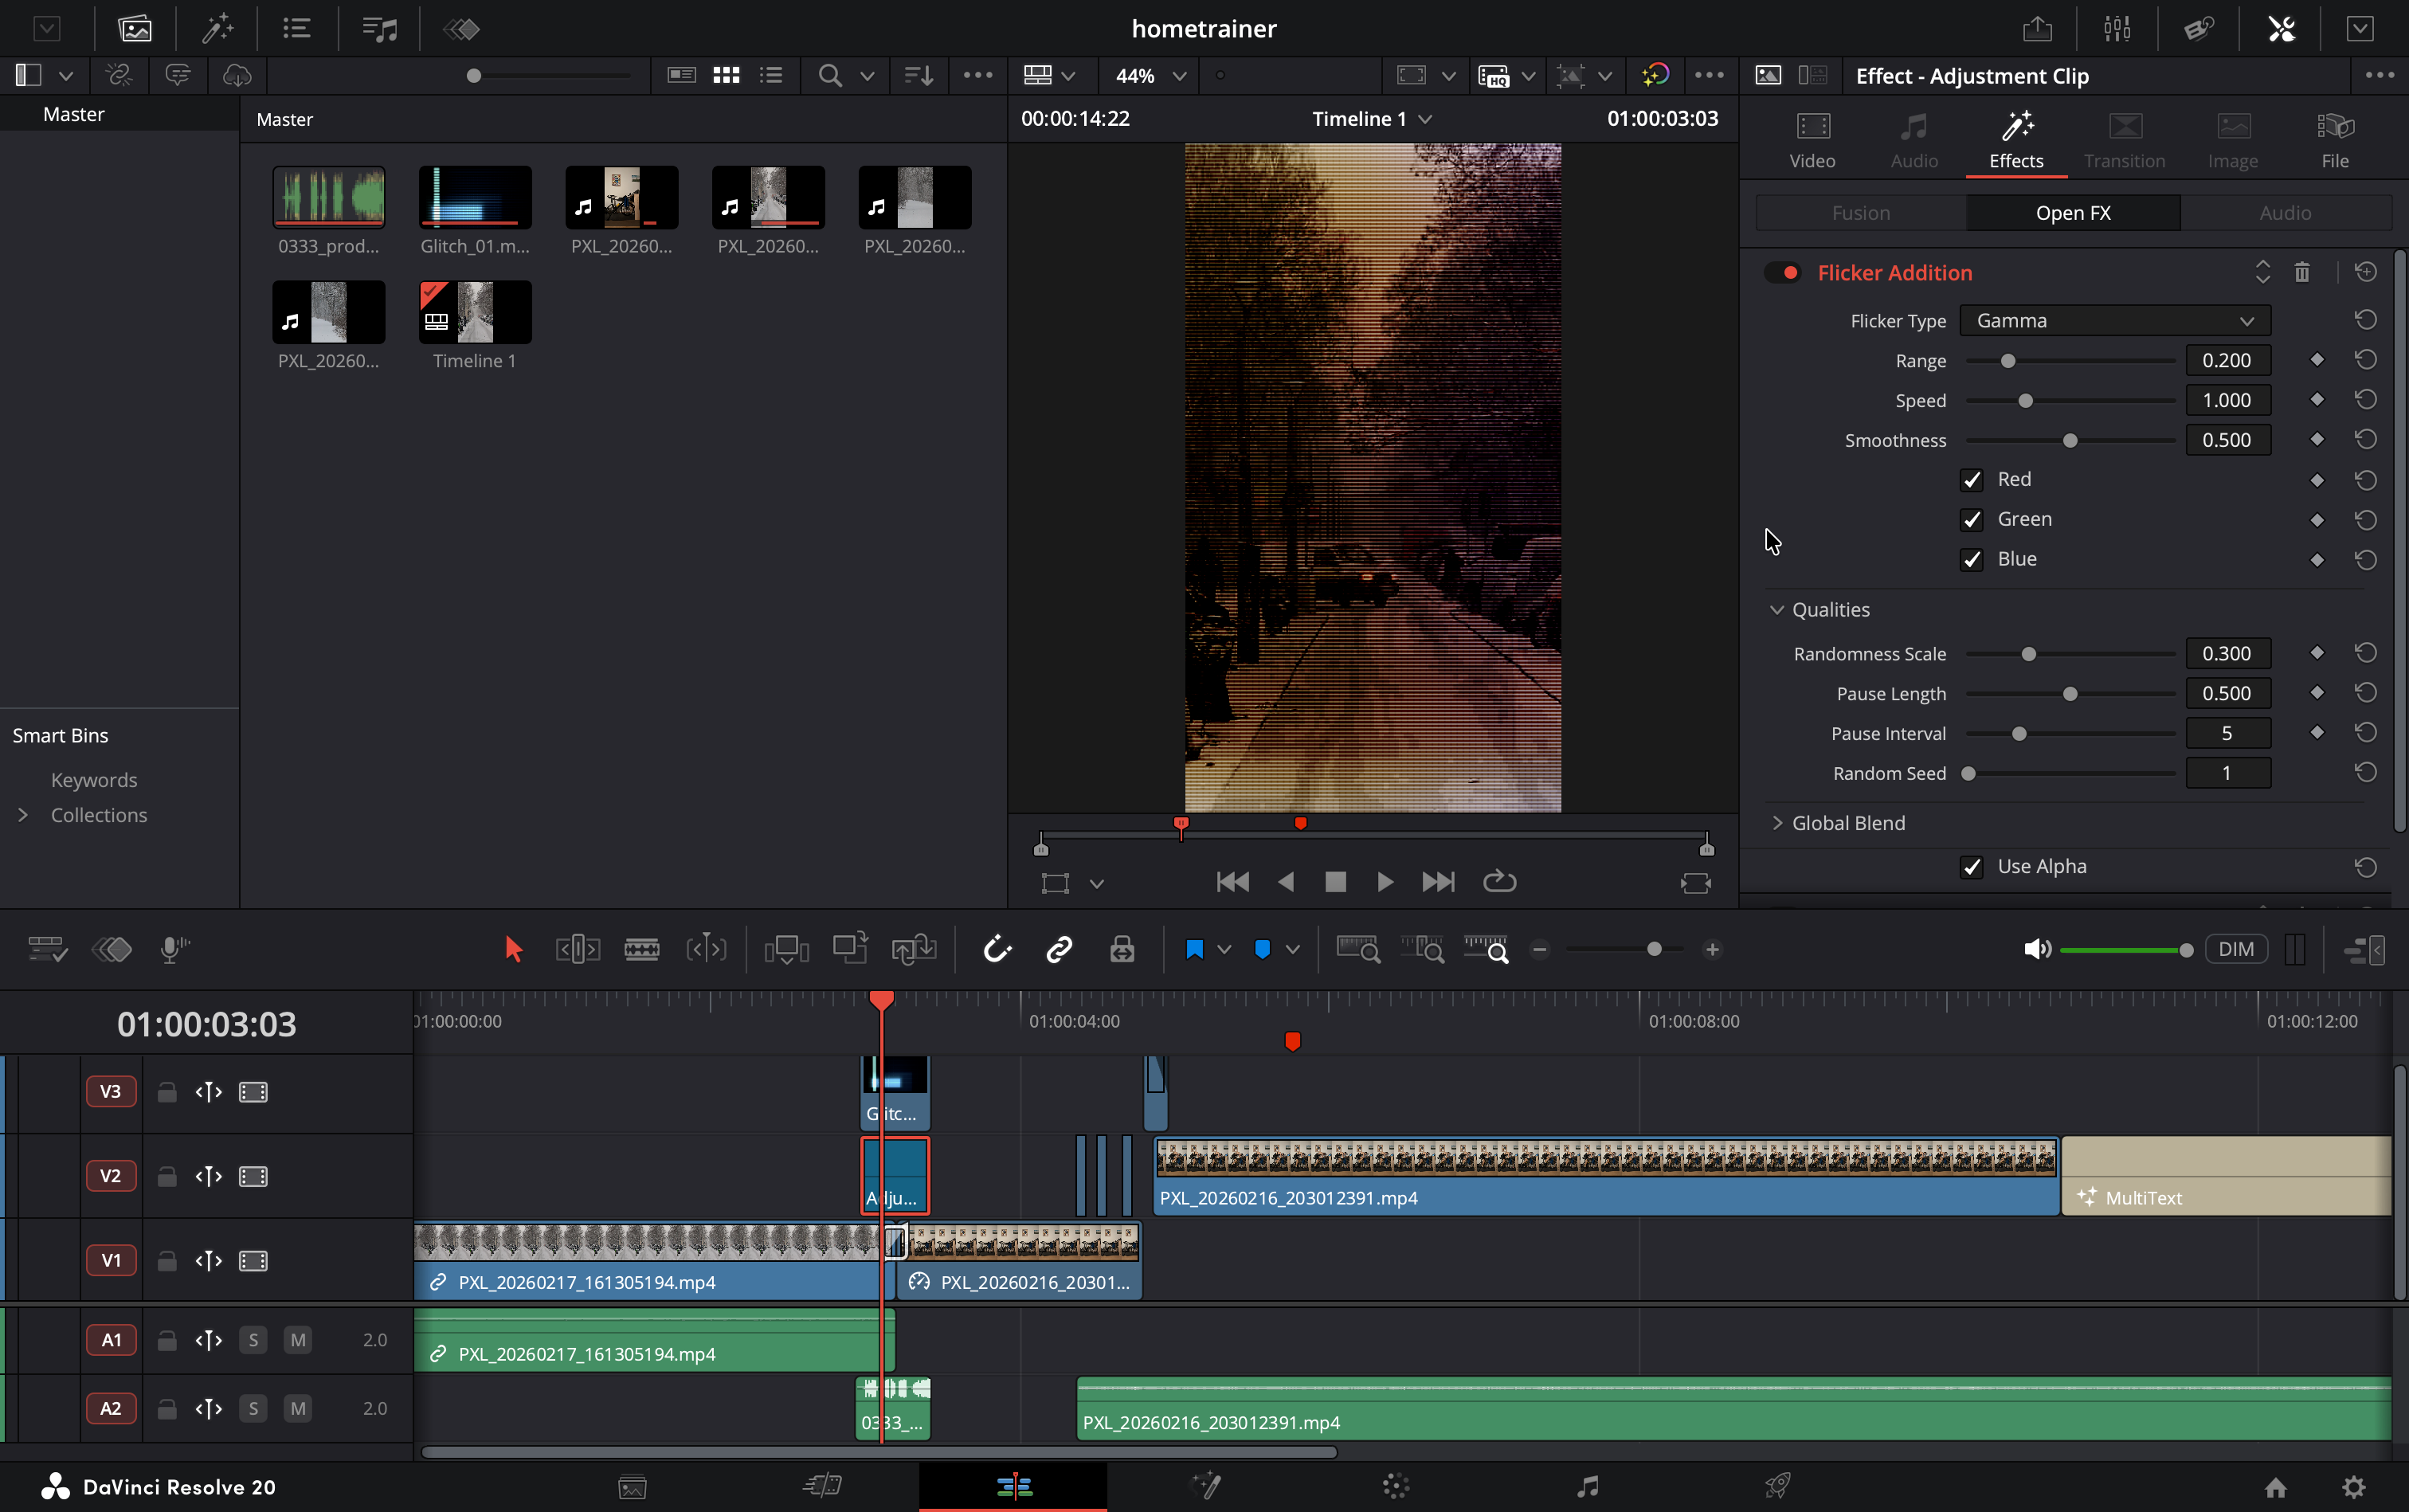
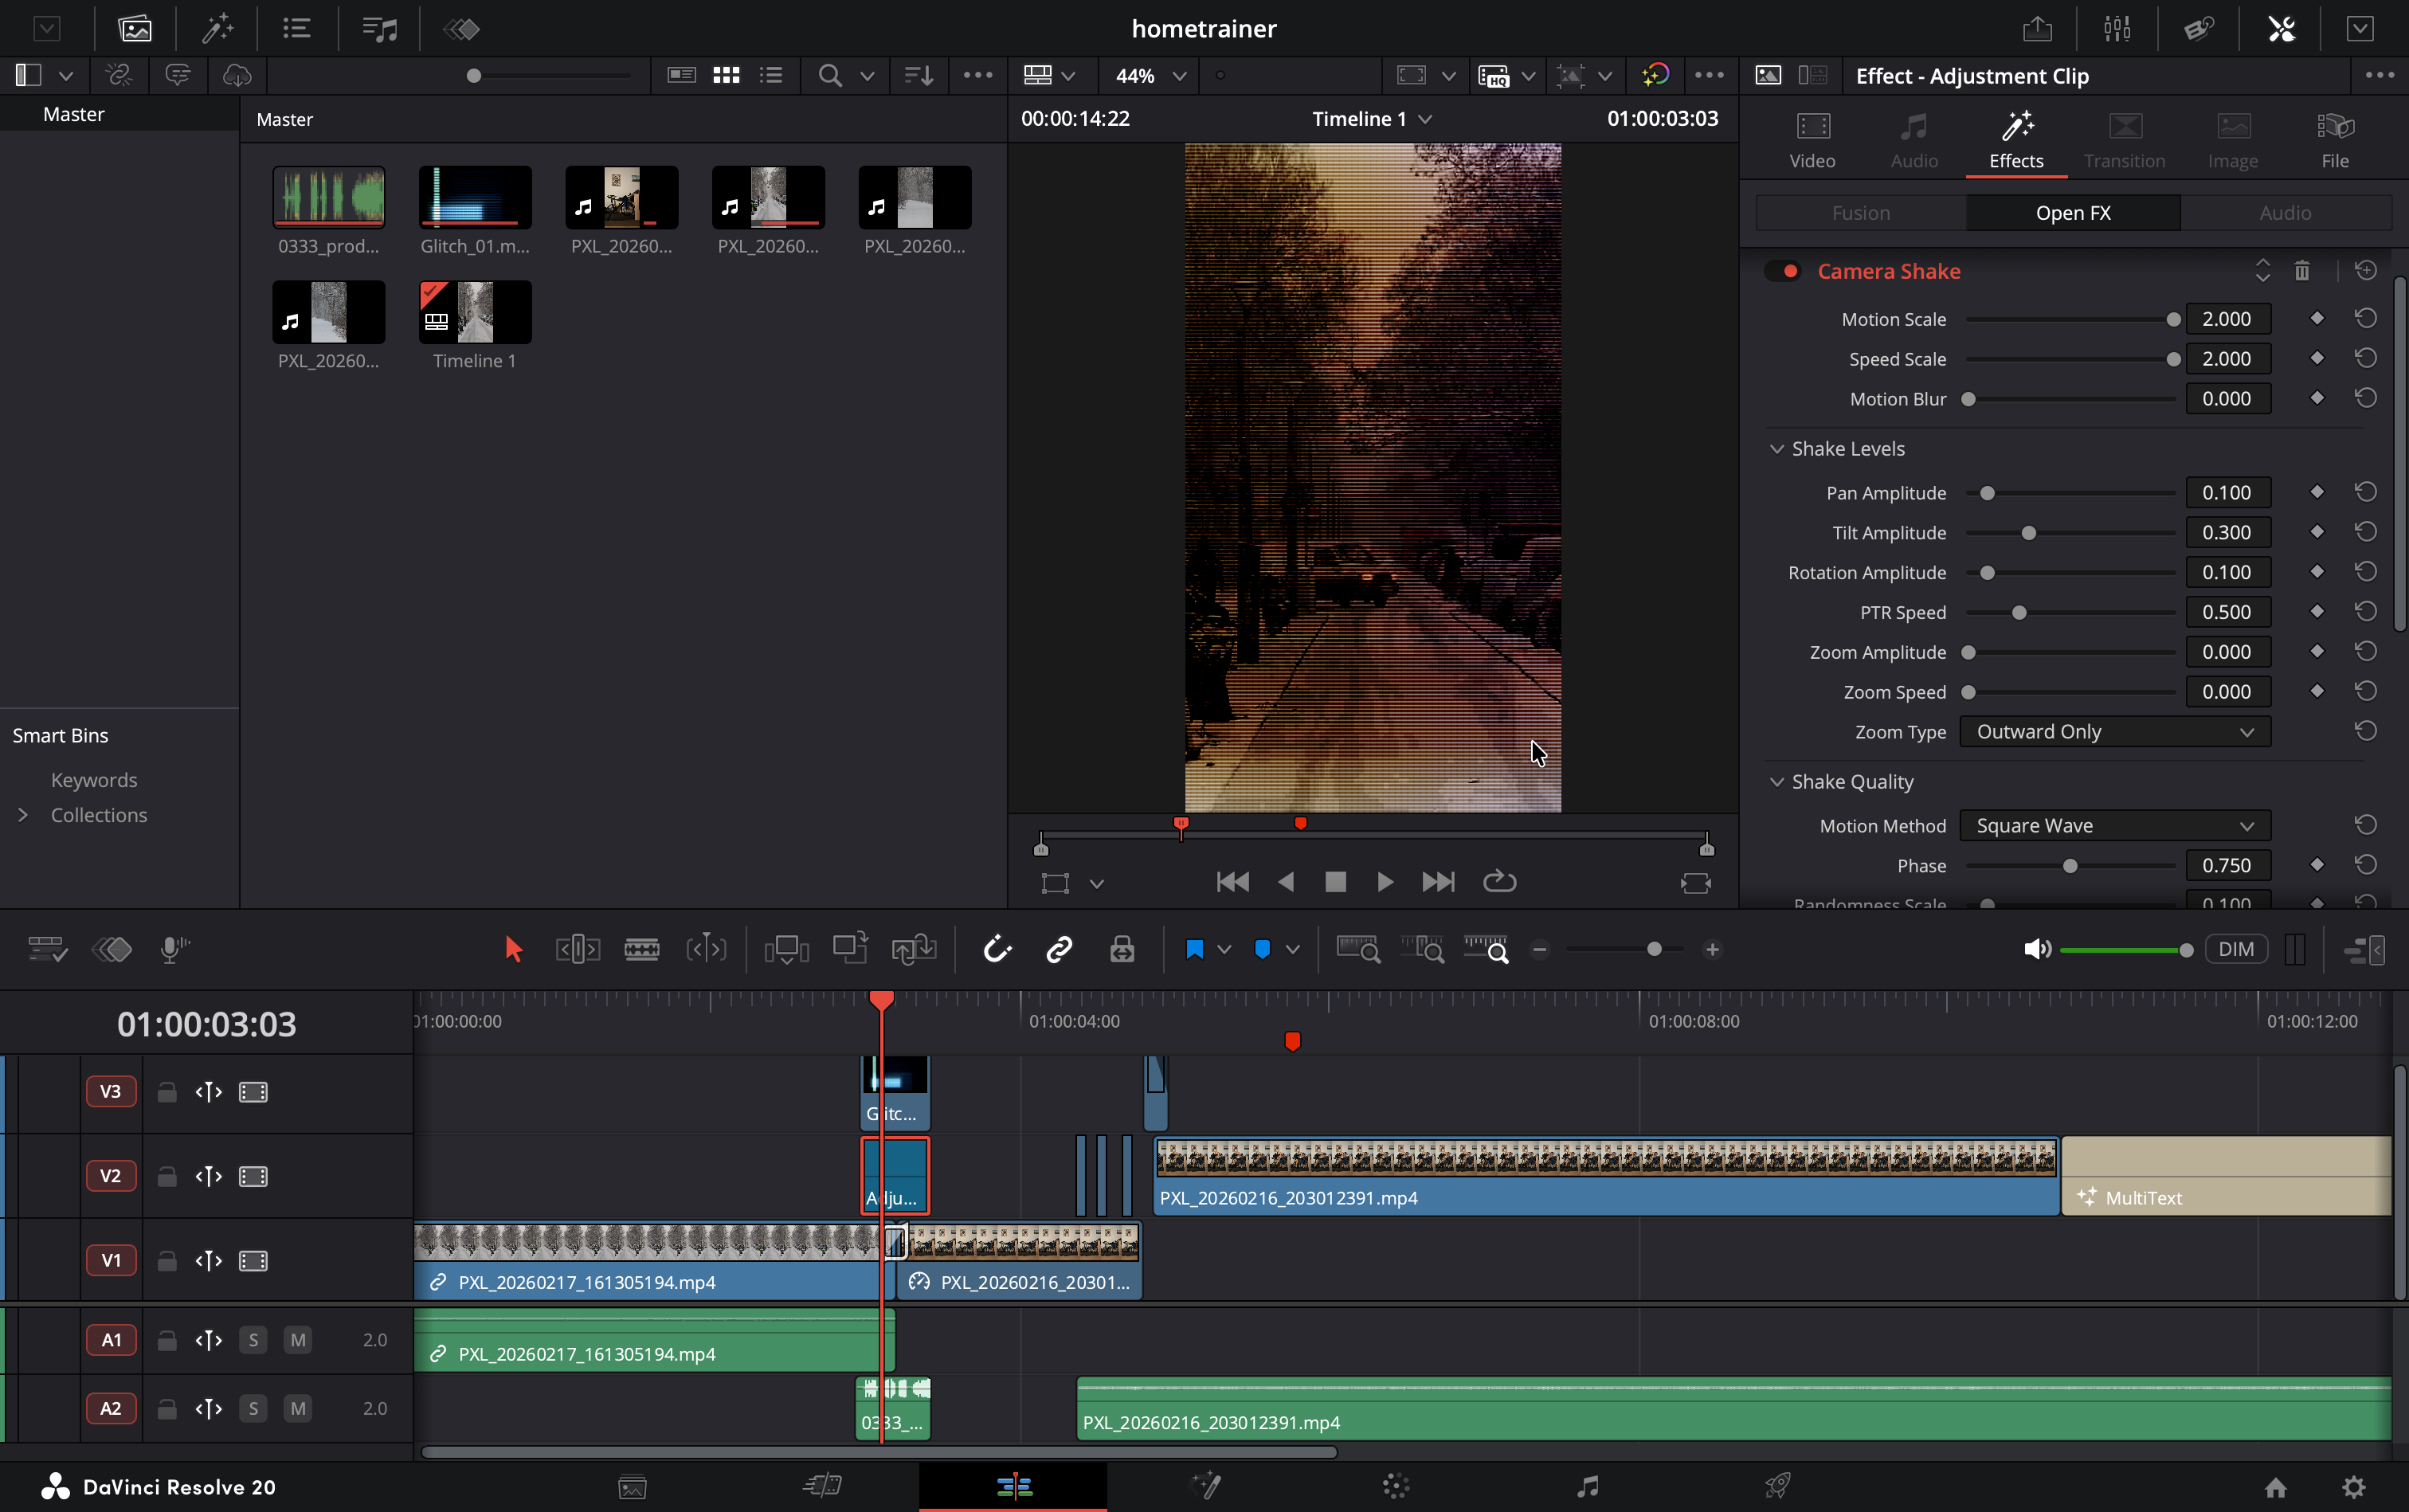
Glitch effect
Full tutorial there. The sound used is findable on this site.


Glowing white light in place of a person
Step 1: isolating the person
- Switch to the Color Page.
- Add a new Serial Node (Alt + S on Windows or Option + S on Mac) or use the default one
Now, on the paid version of Davinci Resolve:
- Open the Magic Mask palette (the icon looks like a person with a mask).
- Draw a quick stroke over the person you want to replace.
- Click the Track Forward and Reverse button (play icon with arrows on both sides) to let Resolve track the person throughout the clip.
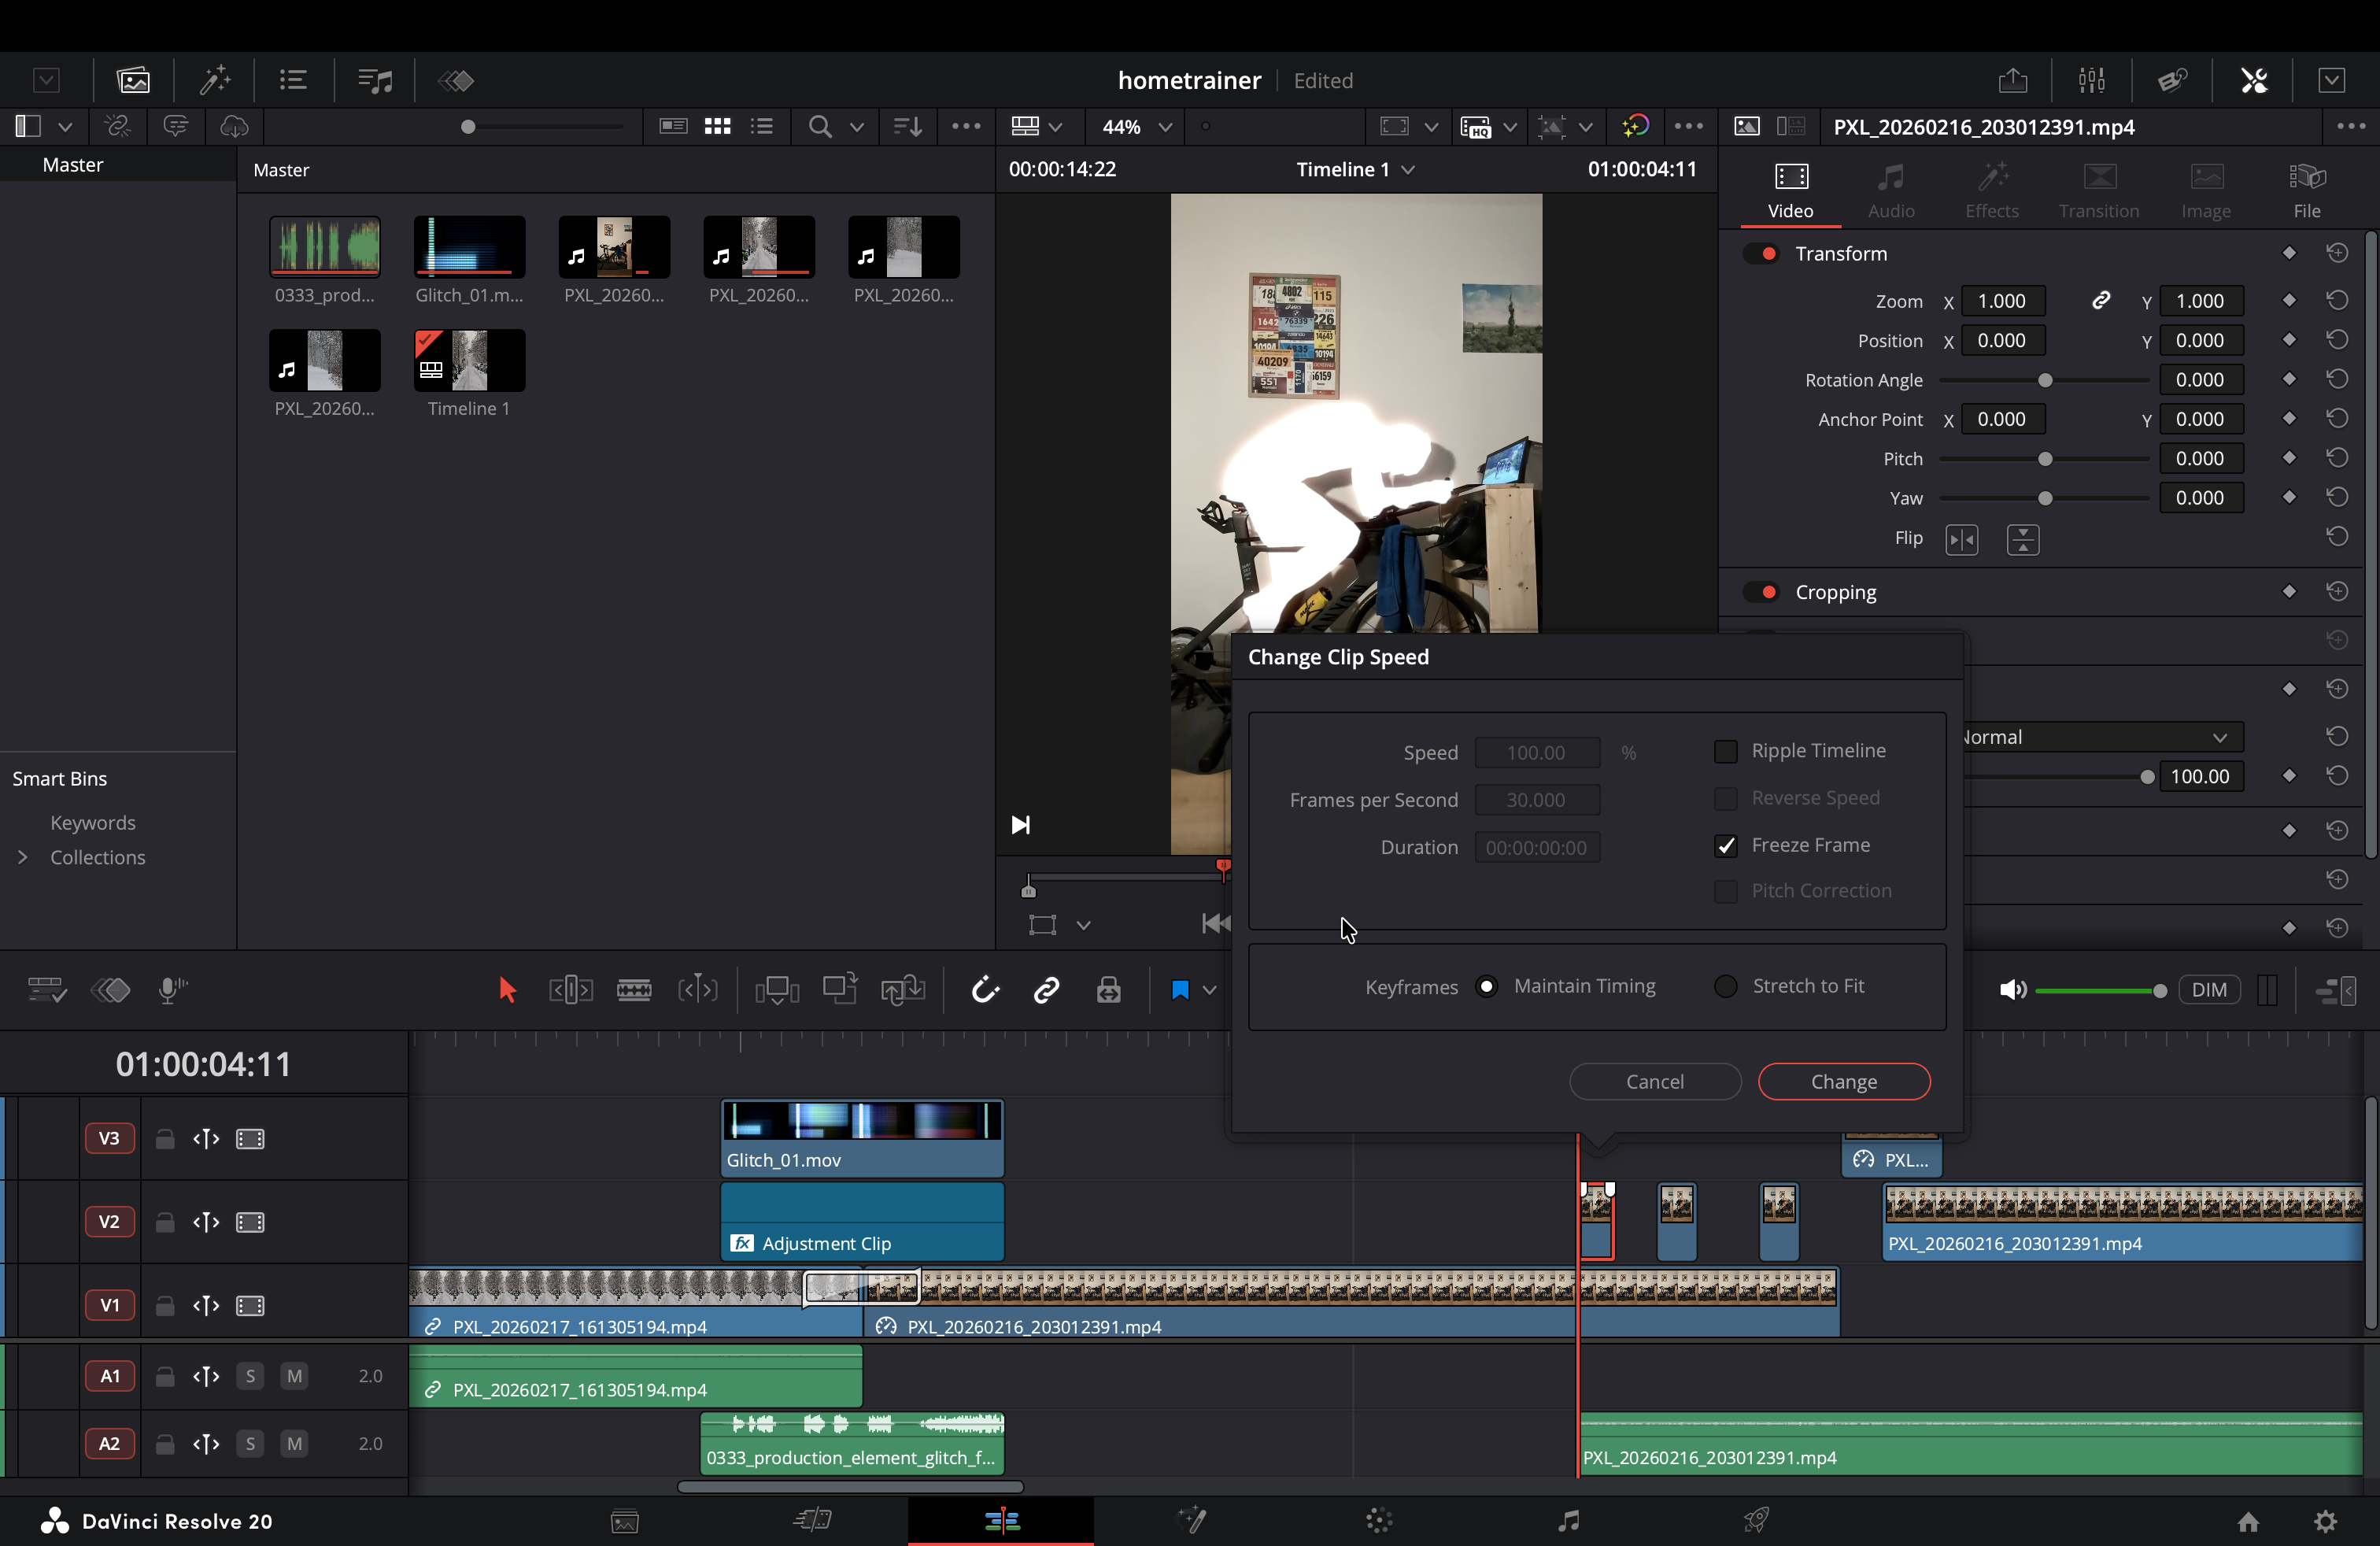
On the free version: use the Power Window tool (the pen tool icon) to manually draw and track a mask around the person frame-by-frame.
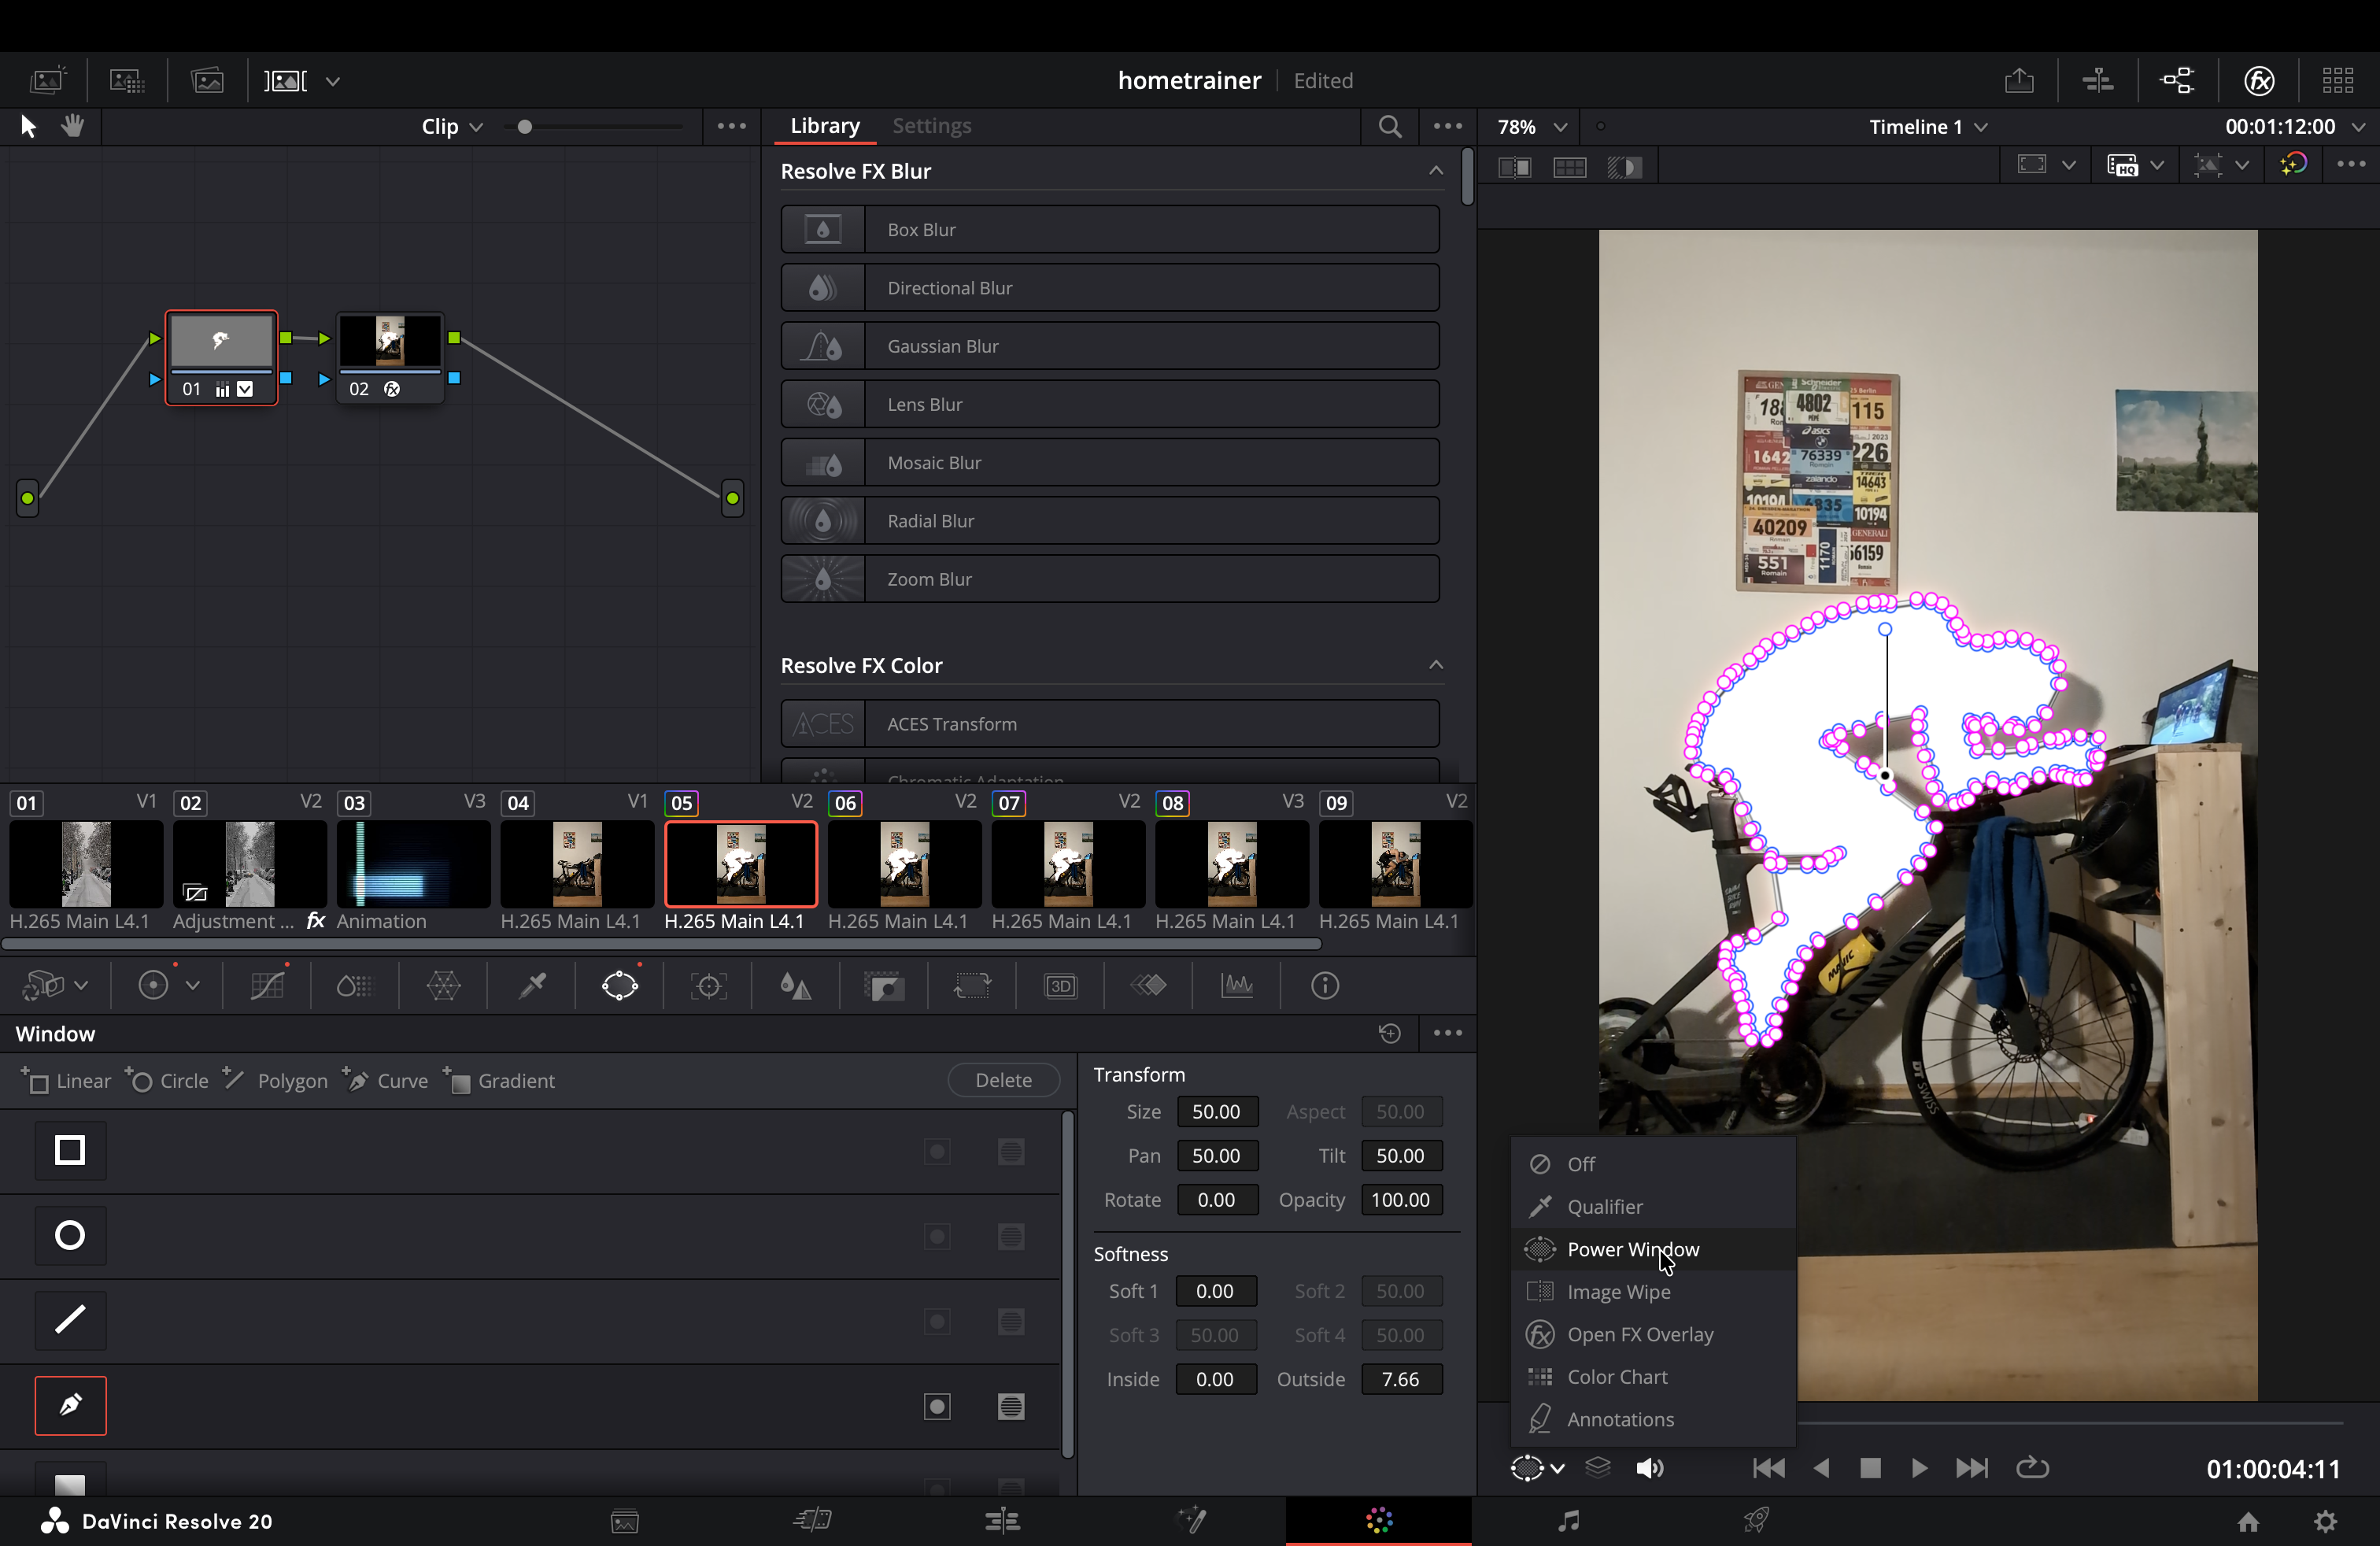
Edit the settings under "Softness" if need be.
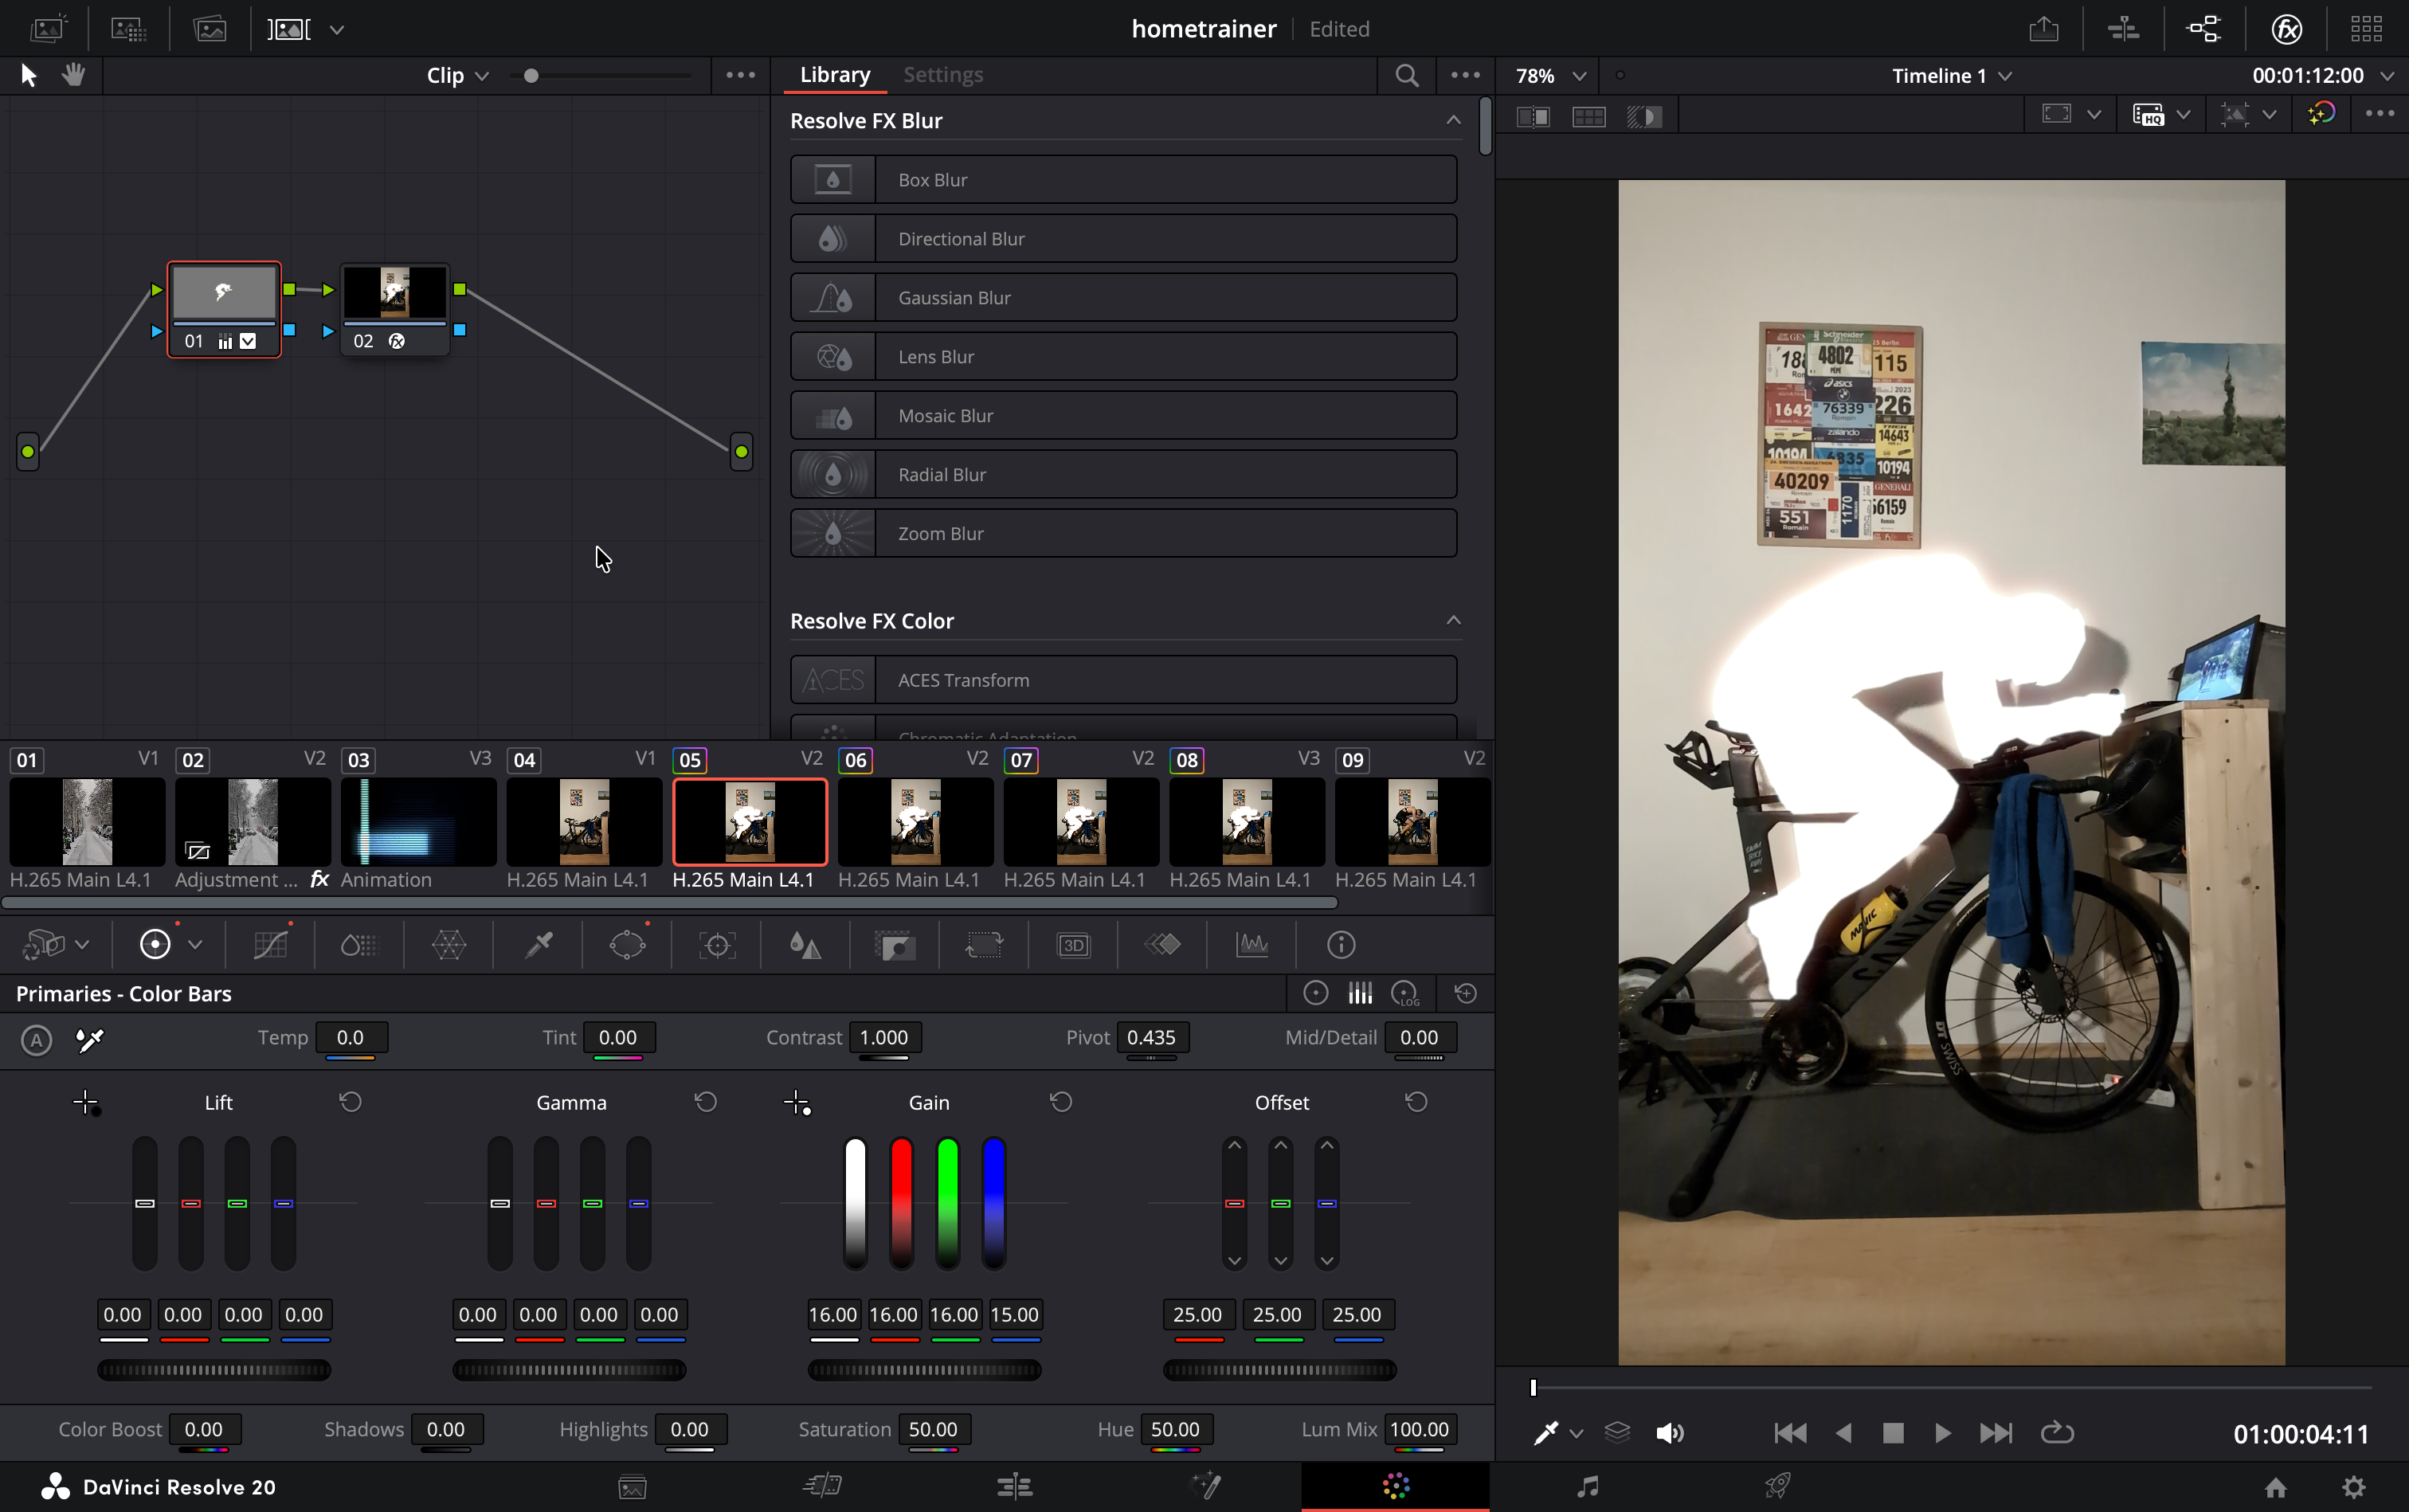
Step 2: turning the person pure white
With the Magic Mask or Power Window node selected, go to the primaries color wheels. Crank the gain wheel all the way up to brighten the highlights.
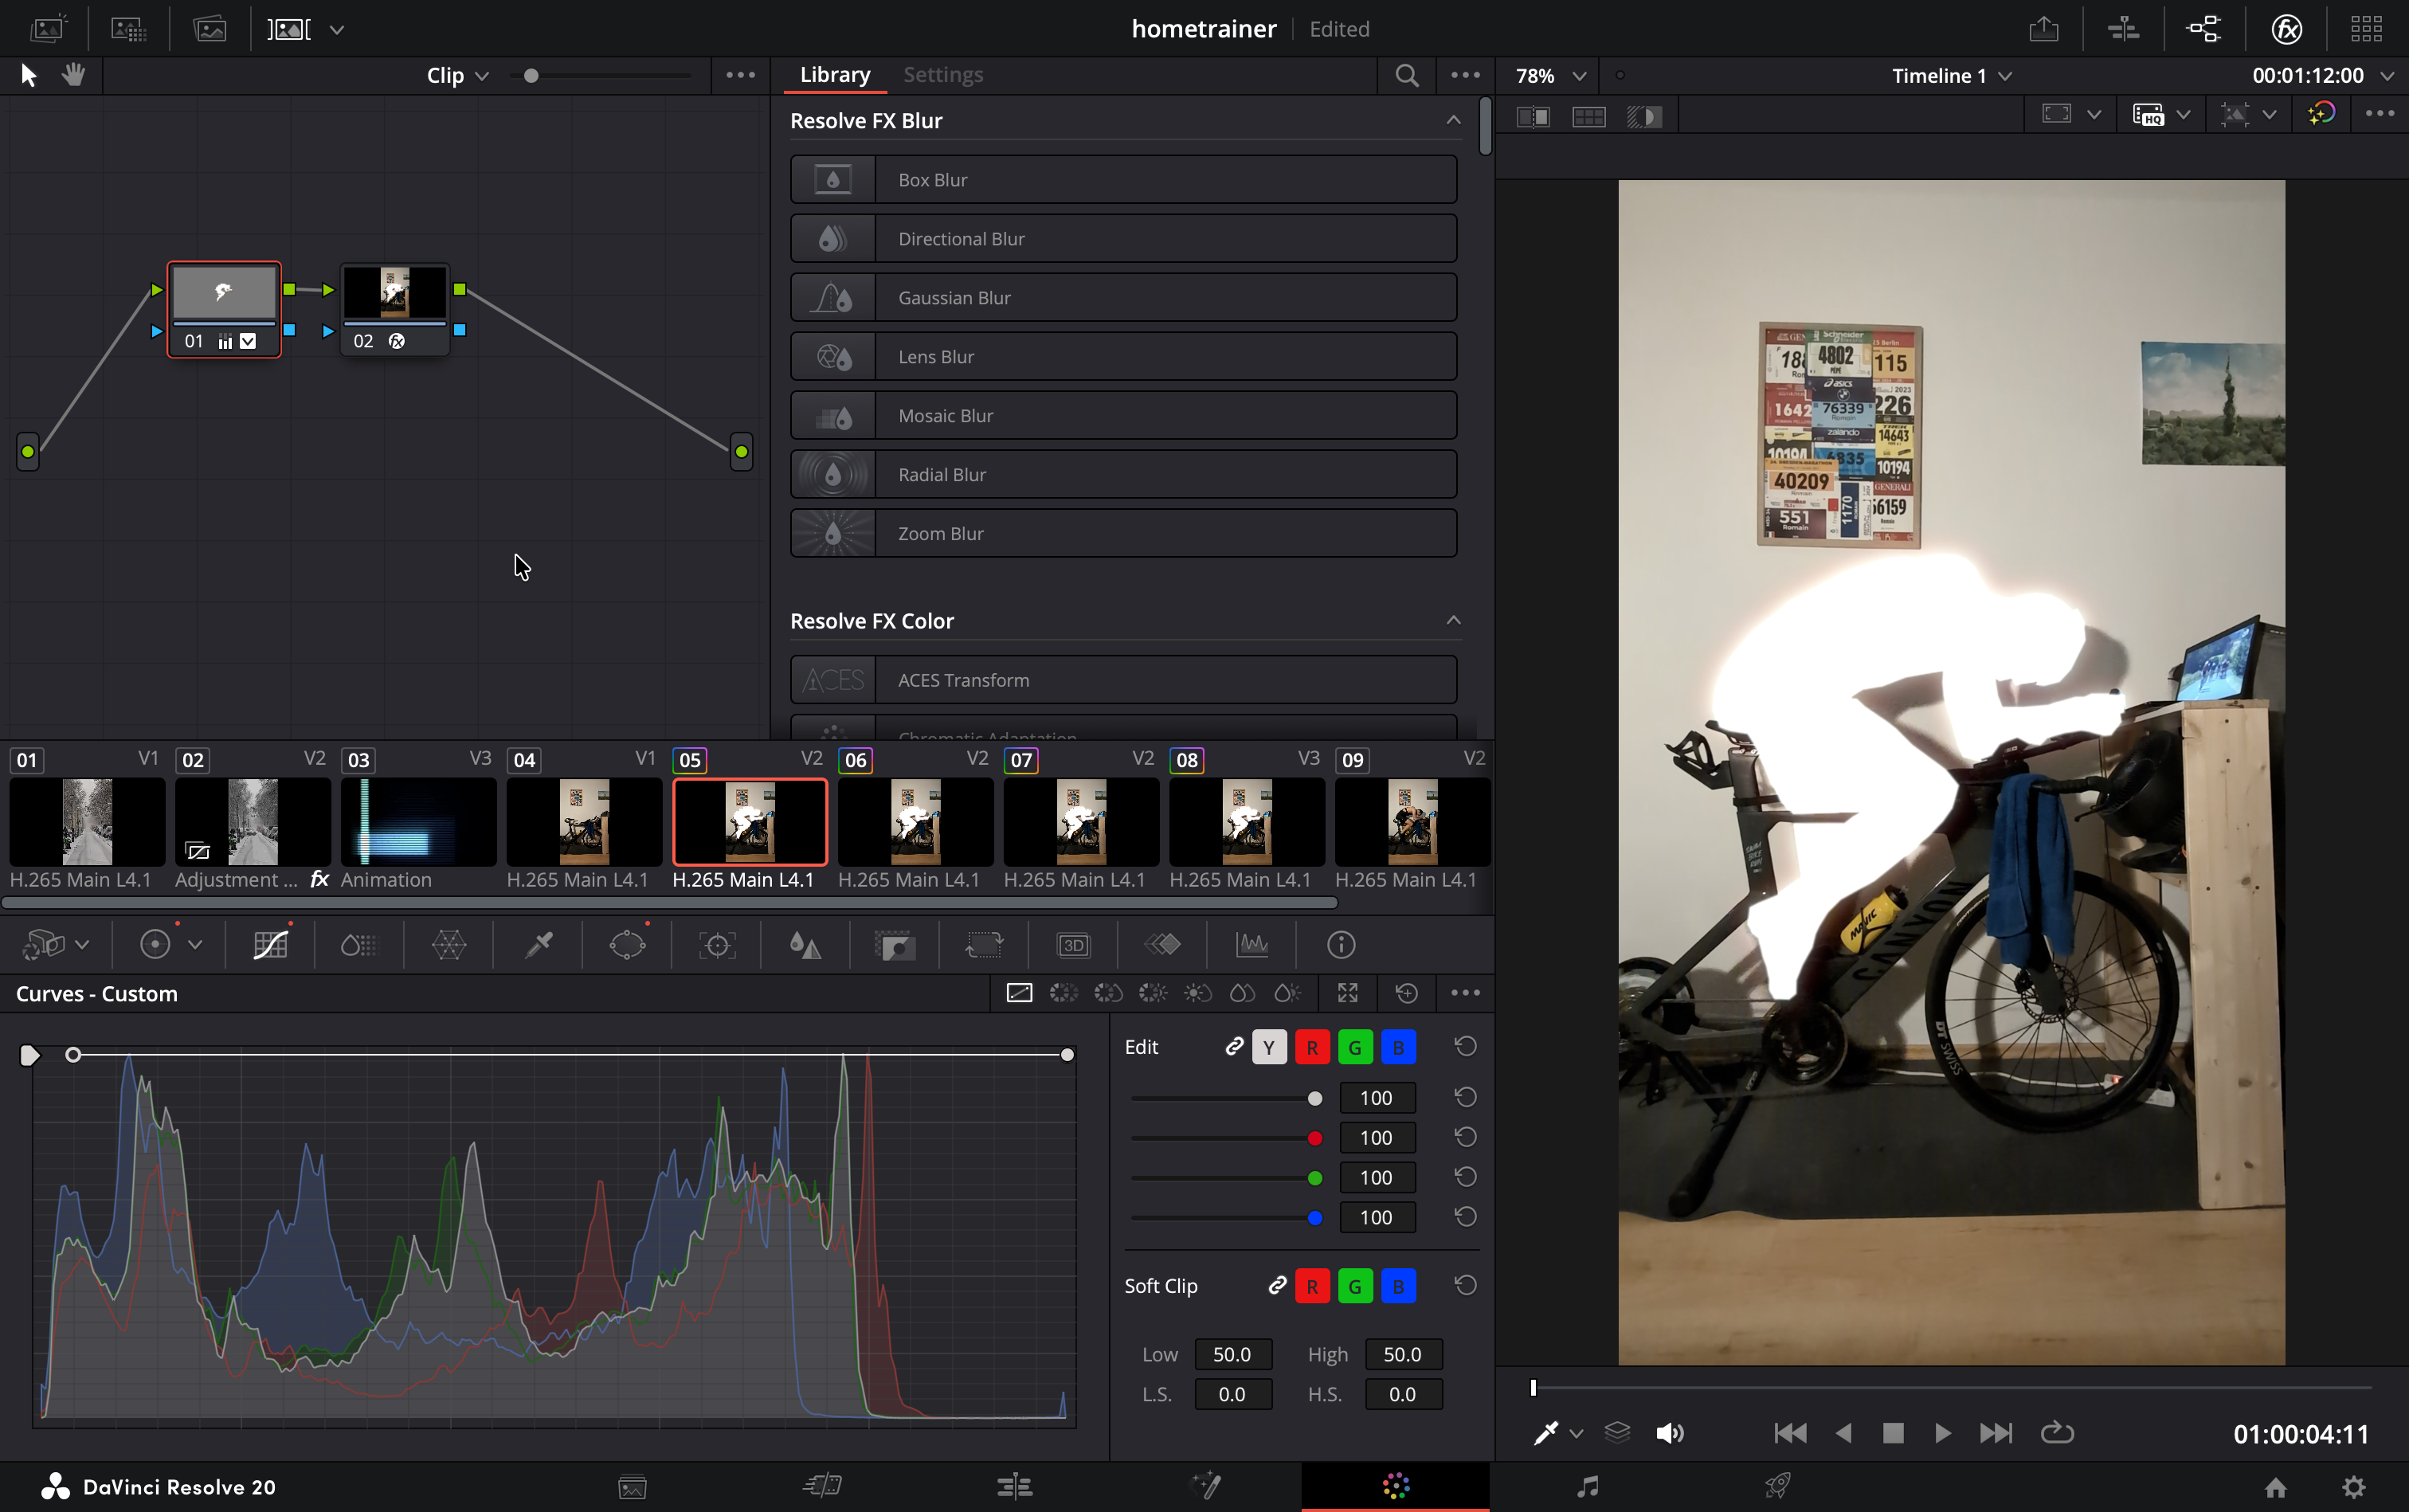
Next, open the Curves palette. Grab the bottom-left point of the main curve (the shadows) and drag it all the way to the top-left corner. This forces the darkest parts of the image to become pure white.
Step 3: adding the glow effect
Add another Serial Node after the white cutout node. Open the effects library (top right corner). Search for Glow (under Resolve FX Light) and drag it onto this new node.
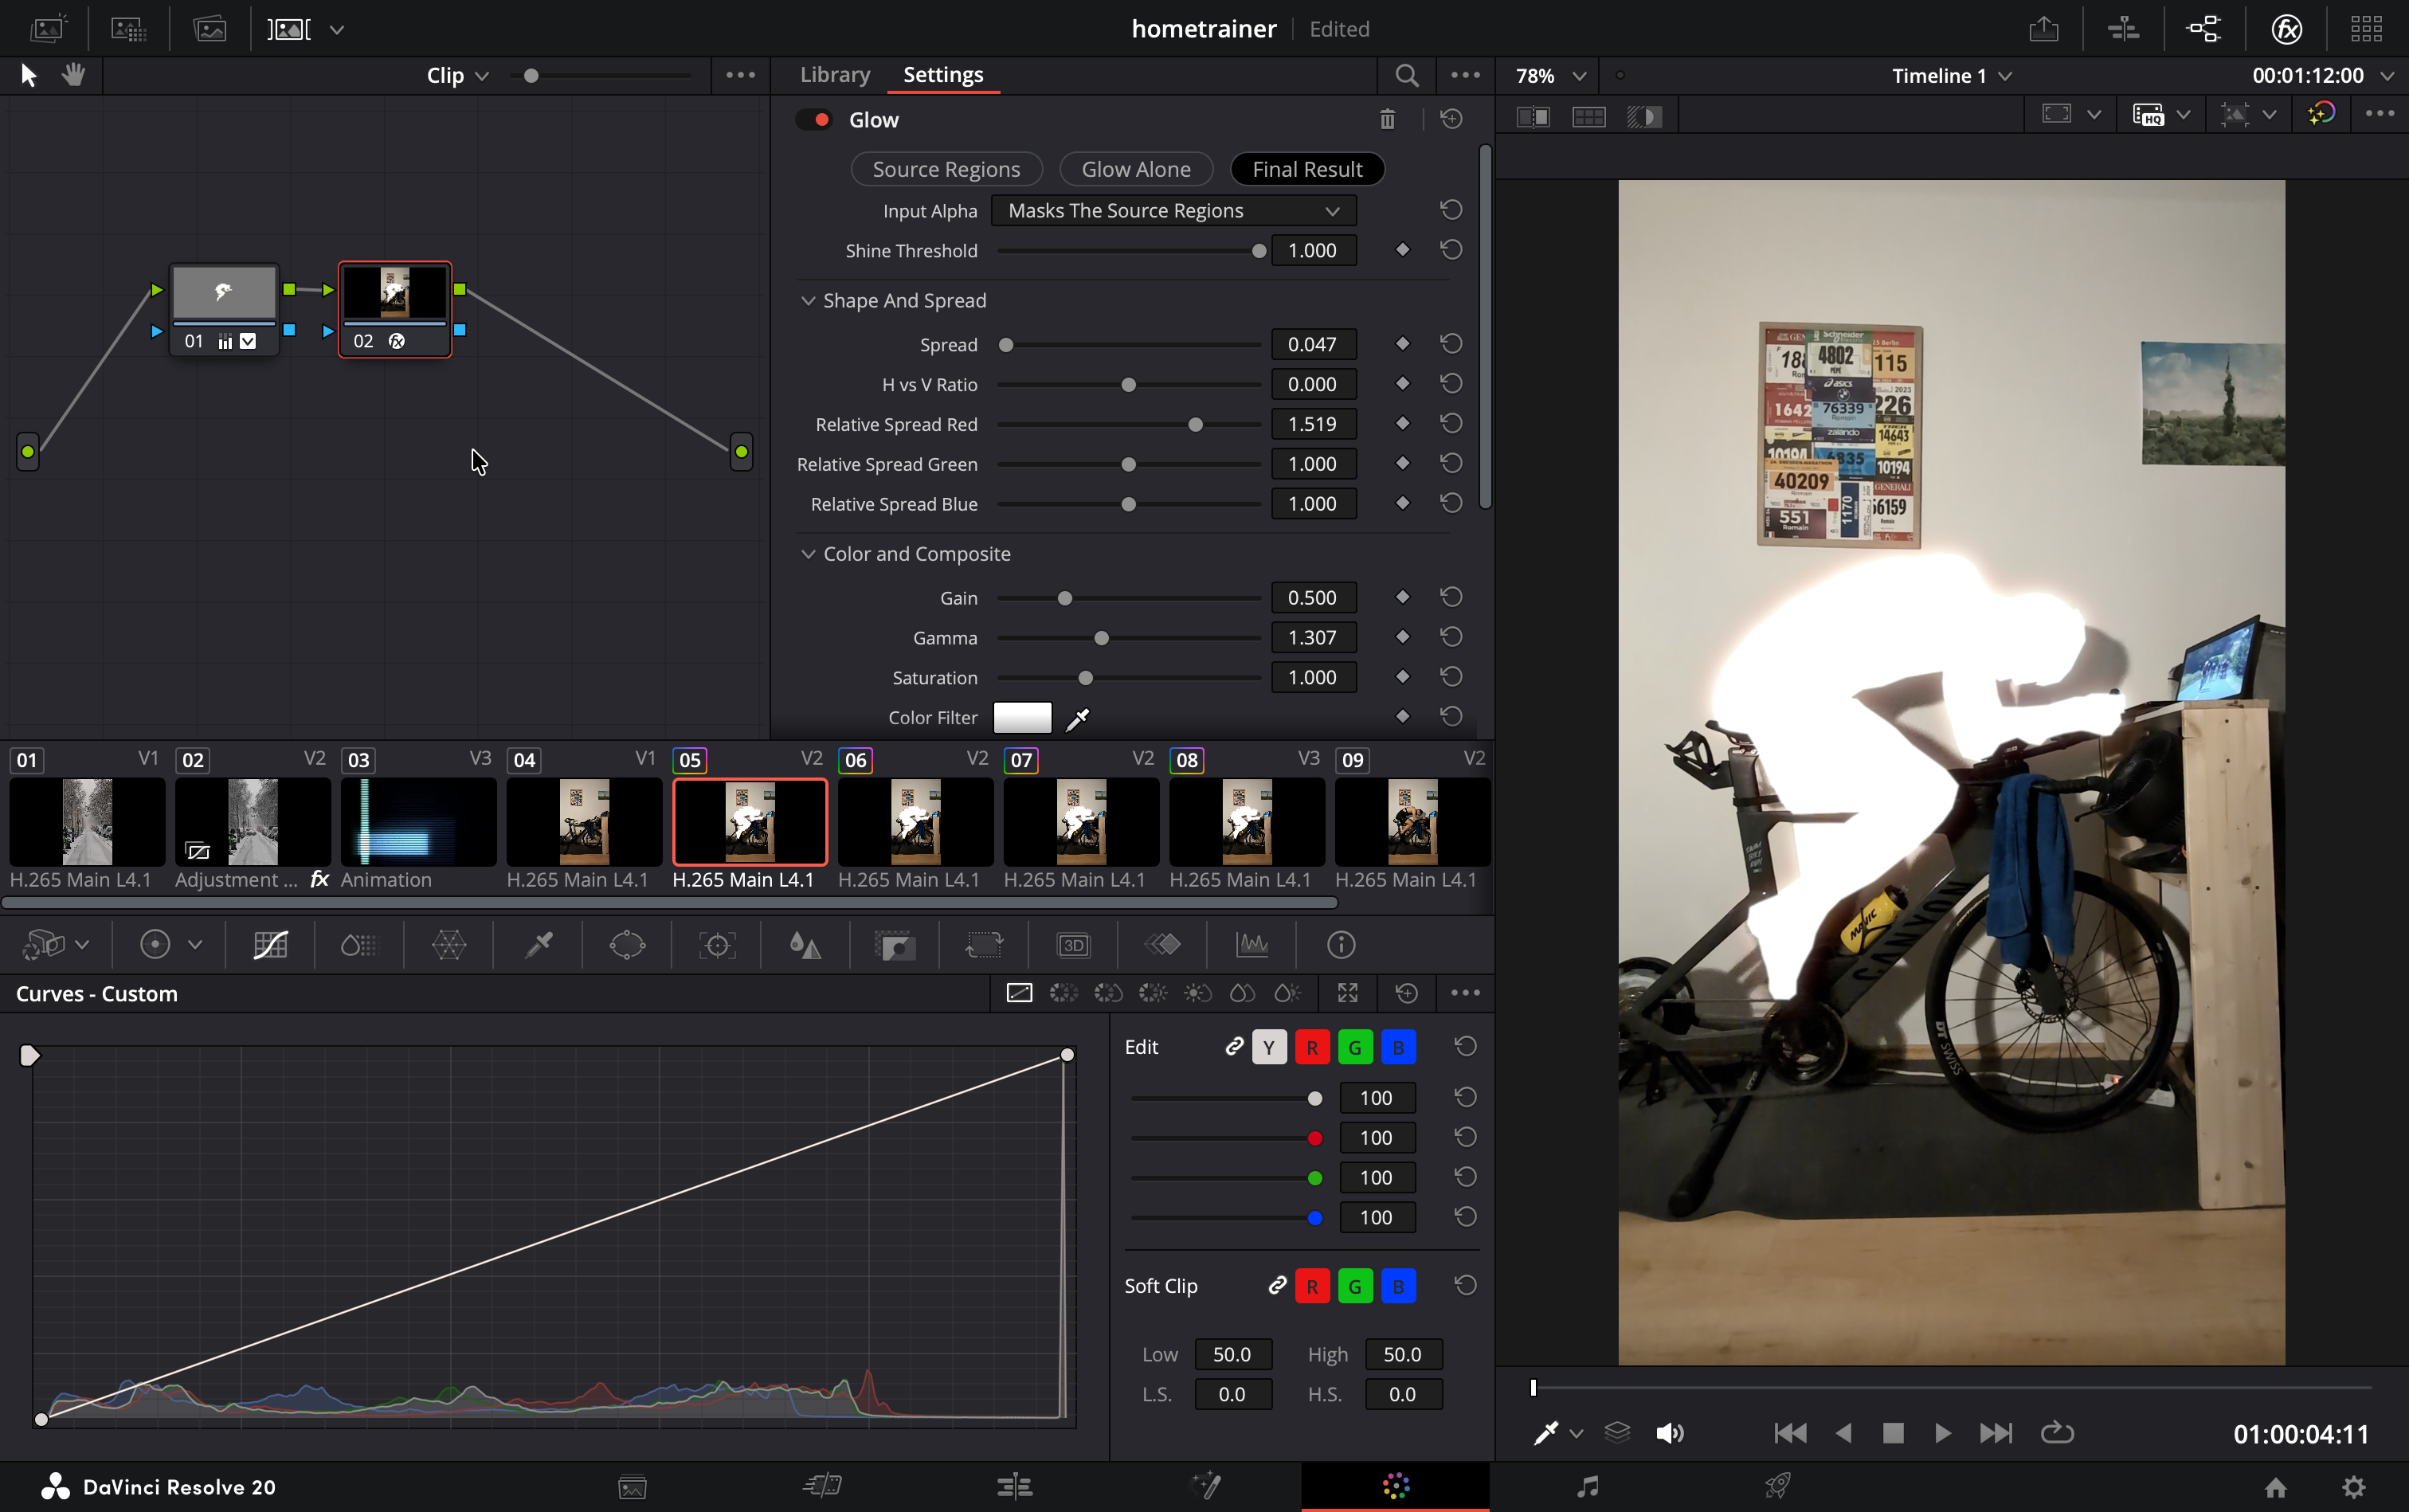
Go to the settings panel for the glow effect and adjust the following to your liking:
- Shine Threshold: Lower this to ensure the entire white shape emits light.
- Spread / Glow Size: Increase this to make the light bleed out over the background.
- Glow Color: It should default to white, but you can tint it slightly blue or yellow here if you want the light to have a specific temperature.
- Composite Type: Ensure it's set to "Add" or "Screen" to make the glow blend naturally over the background.
That's it!